Showing posts with label Tutorial. Show all posts

Monday, March 14, 2016

Spotlight Technique - Magnifying Your Creations

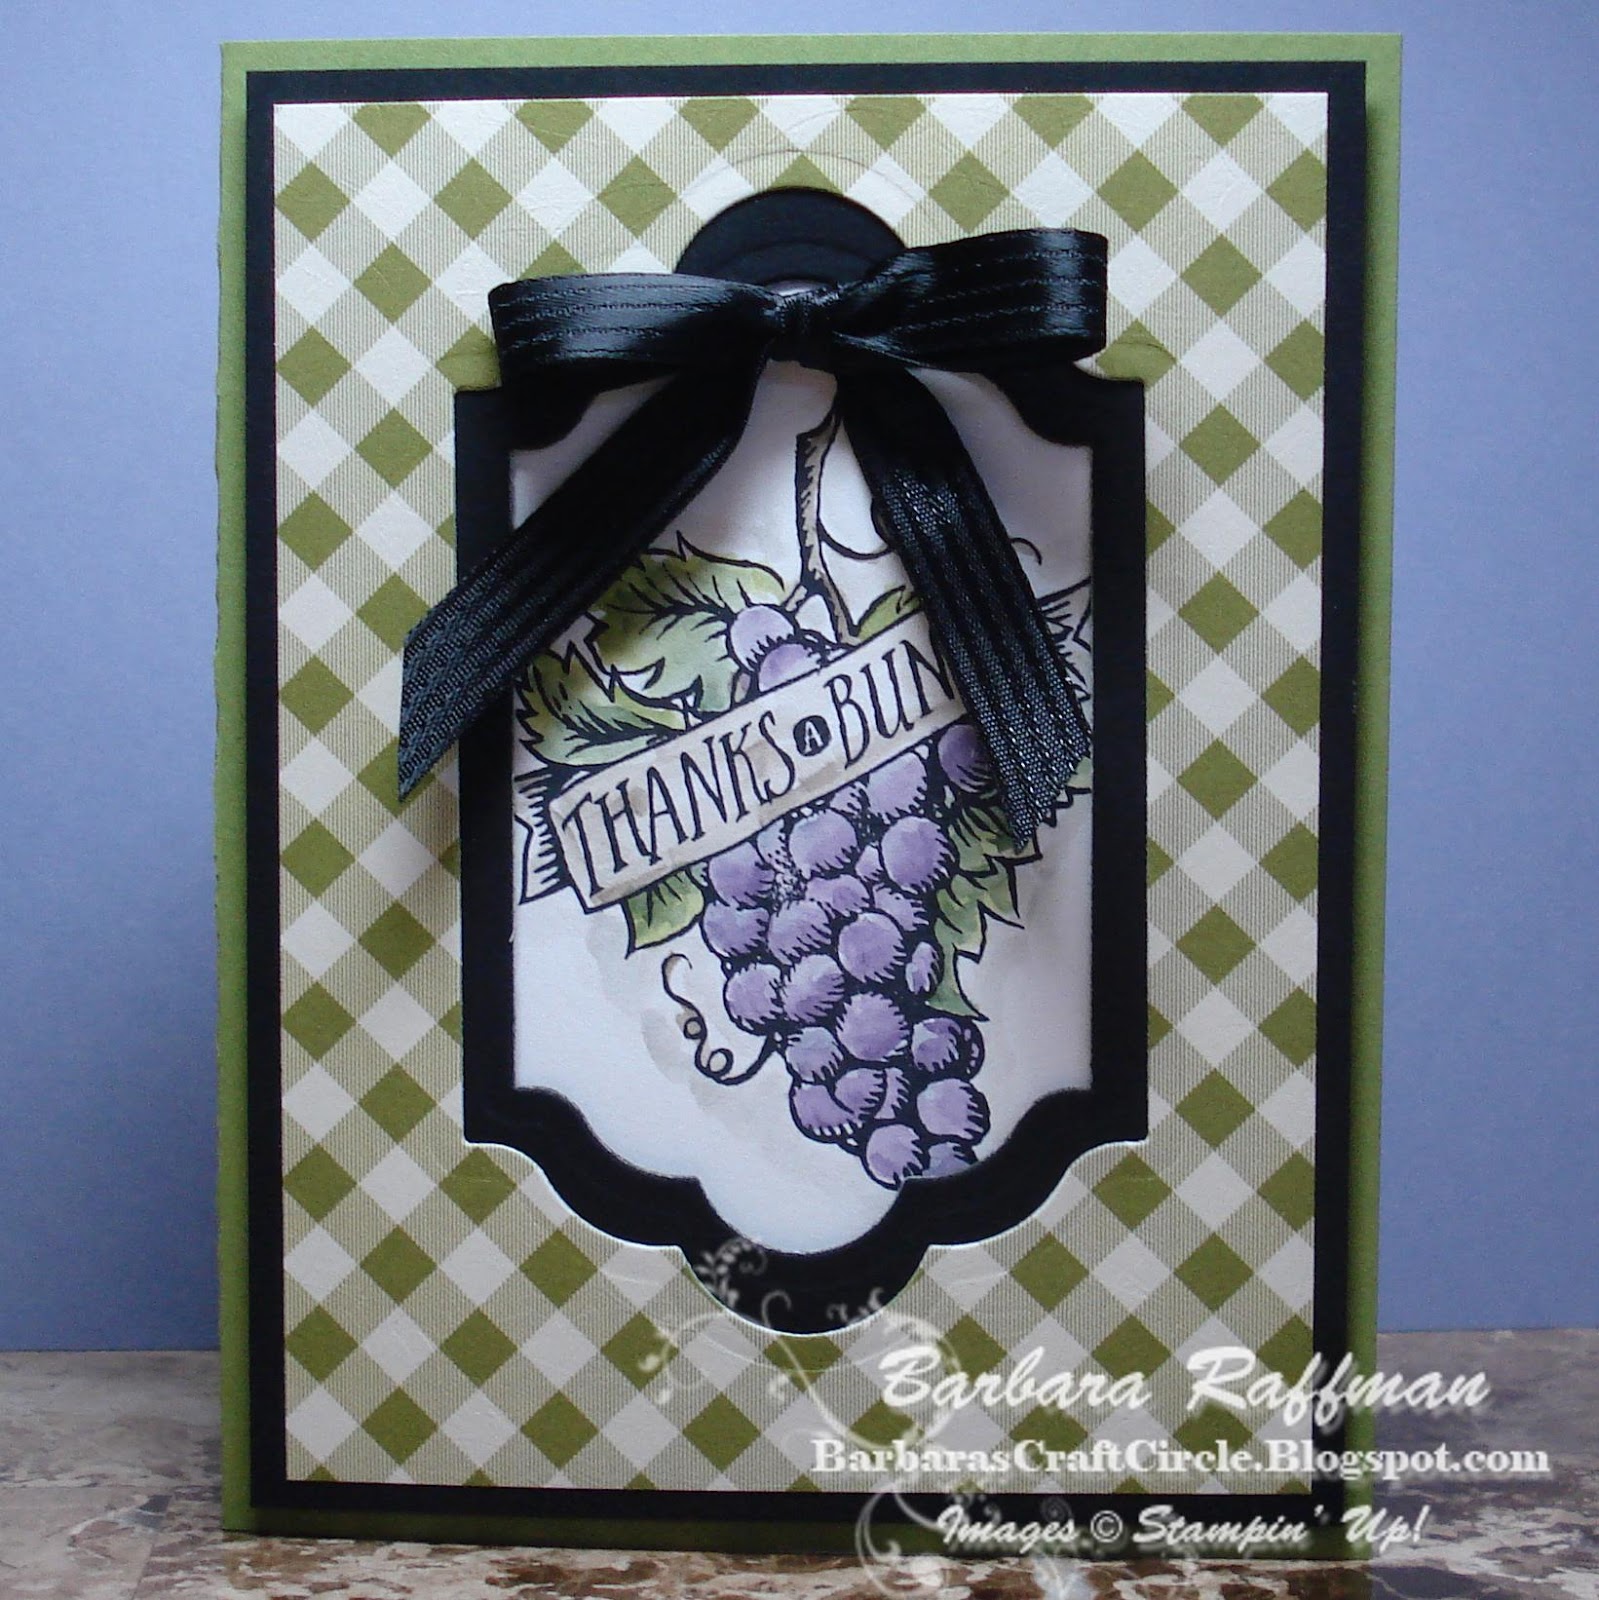
The Spotlight Technique was the perfect choice to color in just a portion of this huge stamp from the Occasions Catalog (aka the Spring Catalog).  Of course, it is beautiful fully colored in too.  I do love just plain black and white though, and this is a step above that.


Here is the Technique Journal page I did on this technique for my club.


Have a crafty week!

Thursday, November 26, 2015

Winter Wonderland Tunnel Christmas Card

Here's an easy wow to spice up your cards.  I've seen these before, but didn't realize just how easy they are.  The tunnel card technique instructions are below on the technique page I made for my stamp club members.

Here's the front.  The whole scene is dusted with Dazzling Diamonds glitter.  It didn't show in the photo, so use your imagination...lol.  I used Winter Wonderland Specialty paper and the Wonderland stamp set.


And, here's the technique page with a tiny sample tunnel card.

Happy Stampin'


Wednesday, September 30, 2015

Market Fresh Double Matted Windows

I have seen this look quite a bit and did a little research to make sure I knew how to achieve it.  For August, my stamp clubs got treated to this technique and some water-coloring too for these cards.


I let my club members choose their designer paper from the 3 sheets I picked out to coordinate, and we also made a page in our Technique Book for this technique. 

We used the Farmers Market designer series paper and Market Fresh stamp set that coordinates from the annual catalog (the big one).

Tip:  Put dimensionals all around under the frame for a deeper inset look.  I used 6 dimensionals on each card.


Happy Stampin'

Tuesday, September 2, 2014

Frosted Image Technique

In July, I taught the Frosted Image Technique.  You don't need anything special for this one, just a Whisper White stamp pad and daubers.

Stamp Set:          Another Thank You, Summer Silhouettes
Colors:               Mossy Meadow, Lost Lagoon, Very Vanilla, Basic Black
Tools / Extras:    Craft Whisper White ink pad, daubers,
                          Vellum Card Stock, Elegant Butterfly punch, Pearl Basic Jewels

Here's the technique journal page I did.  My club members do one technique page every month for their journal.


Tip to lining up 2nd image on top of 1st:  If you're using clear mount, you can hover your stamp over the image already stamped so that you can see just the edge of the entire image peeking out to one side then shift to over the image keeping the orientation of how you were holding it, then stamp.  Since this technique doesn't have to be right on, this method is close enough.

Happy Stampin'

Tuesday, July 15, 2014

Faux Tile Technique - Flowering Flourishes

I showed the Faux Tile technique in my June Stamp Nights.

Stamp Set: Flowering Flourishes
Colors: Blackberry Bliss, Rich Razzleberry, Smokey Slate, Whisper White
Punches: Fun Flower, Petite Petals
Tools: Basic Jewels Pearls, Simply Scored Scoring Tool, dauber, thin cardboard for masks

Here's the Technique Journal page we made with score measurements.


The trick to the shading is to brush the dauber starting on the mask inward onto the "tile" softly so you don't cover up too much of the tile with shading.  Also, when brushing the outside edges with the dauber, skip over the "grout" score line to keep it white.

Happy Stampin'


Monday, June 23, 2014

Perfect Peacock - So Worth the Wait...

When I first started stamping as a customer with Stampin' Up! there was a retired stamp set with a beautiful peacock in it that I had just missed out on.  I guess that was about 10 years ago.  Well, the Perfect Peacock stamp was so worth the wait!

Stamps:
 Colors:
  • Pistachio Pudding
  • Bermuda Bay
  • Basic Black
  • Whisper White
Tools / Extras:
  • Candy Dots - Brights
  • StazOn ink - Jet Black (for stamping on Whisper White)
  • Scallop Oval punch
  • Large Oval punch
  • Itty Bitty Accents Punch Pack - flower
  • Stampin' Sponges, Dimensionals, Glue Dot
I had seen some cards using the masking technique and line art flower images, and thought the Perfect Peacock would be...well...perfect with this technique!

Tips - Don't put your color in the center of the card stock.  With art, off center is usually better.  Also, just sponge from top down and from down up to let the colors mix where they meet.

Happy Stampin'


Thursday, June 19, 2014

Baroque in Razzleberry - Sea Salt Watercolor Technique


This was a little messy, but fun to see how it turned out each time.  You spritz your watercolor paper all over, add a few drops of refill ink, spread with an aqua painter, and sprinkle on some sea salt.  See full instructions below.


Stamp Sets:
  • Simply Celebrate (retired - Spring catalog)
 Colors:
  • Strawberry Slush
  • Early Espresso
  • Rich Razzleberry
Extras / Tools:
Here's the Technique Journal page and sample I did for my club members:


After our paper was dry and brushed off, we ran it through an embossing folder and sanded it a little to bring out the texture.  Here's a close up of the sample...I just can't get enough of Bermuda Bay!


We ran the sample through the Modern Mosaic embossing folder.

Happy Stampin'


Tuesday, May 27, 2014

Card Box Using Envelope Punch Board

I thought I'd try out this card box I've seen using the Envelope Punch Board for one of my Stamp Night projects, so this was the technique and one of the projects in April.


I made some of these creped filter paper flowers at our craft retreat in March, and I just can't get enough of them...so fun and easy!  I knew that's what I wanted on the flap.  Just cut 8 layers at the same time using the Floral Frames Collection Framelits (all one size), put a brad in the center, fluff, spritz with color, and fluff again when dry.


The Natural Composition Specialty paper is perfect for these since its extra sturdy and already decorated with clear embossing...yay!  Here's a close up of the 9 1/2" by 9 1/2" paper and the card instructions I did in My Digital Studio to give everyone for their technique book.  The red lines are the "cut" lines.  The pen marked lines are the score lines.


One of the tips I read on this was to put a package of our medium envelopes inside to form the box around.  This works great to keep your box squared off when sticking down the Sticky Strip.  This box will hold a dozen cards and envelopes or more depending on the embellishments.

Happy Stampin'


Wednesday, April 2, 2014

Glittered Easter Eggs

Easter is just 2 and half weeks away!  Here's an easy way to add glittered Easter eggs to your scrapbook pages or cards using Silver Glimmer Paper and the XL Oval Punch:

Stamp Sets:
  • Delightful Dozen
  • Positively Chevron
Colors:
  • Crumb Cake
  • Very Vanilla
  • Strawberry Slush
  • Elegant Eggplant
  • Bermuda Bay
  • Wild Wasabi
  • Gumball Green
  • Garden Green
  • Illuminate Glimmer Watermark Stampin' Pad
Tools / Extras:
  • Stampin' Spritzers (link)
  • Rubbing Alcohol
  • Re-Inkers
  • Silver Glimmer Paper (link)
  • Fringe Scissors (link)
  • Brayer
  • Seam Binding ribbon
  • XL Oval Punch
Egg Spritzing:  I have an old box with a lid attached on one side that I use to spritz in (practice safe spritzing...lol).  Just fill your spritzers with rubbing alcohol (drys faster than water) and 15 drops of re-inker in each color in each spritzer to spritz strips of Silver Glimmer Paper.  I tried with less drops, but it was not intense enough color on the Silver Glimmer Paper.  Stampin' Up! Glimmer Paper has a special backing that holds up to spritzing.  The color works itself under the glitter and dries in about 15 minutes.  Then, just punch out your eggs with the Extra Large Oval Punch. 

Tip: Once you designate a color to your spritzer, just label it and keep it that color.  They are inexpensive and so washing the color out of the spritzing mechanism isn't worth your time.

I also did an Ombre effect on the background of this card with the Brayer.  Here's my Technique Journal page.

Happy Stampin'


Tuesday, March 18, 2014

Telescoping Technique - Starburst Sayings

This gate card was a Stamp Night project from February and a little out of my comfort zone with all the bright colors.  My ladies loved it though...some of them are all about the Brights!  Lots of dimensionals on this one to layer everything for the telescoping effect.


Stamp Sets:
  • Starburst Sayings
Colors:
  • Daffodil Delight
  • Rich Razzleberry
  • Pacific Point
  • Whisper White
 Tools / Extras:
  • Starburst Framelits Dies
  • Circle Punches
  • Triangle Punch
  • Tea Lace Paper Doilies
  • Scallops embossing folder
  • Candy Dots
  • Dimensionals
  • Uni-ball Signo Gel Pen - White
When you do the Telescoping Technique with a word stamp, it helps if you punch your circle out of scrap card stock first and center the scrap circle on top of your stamped image to trace where to punch.  Then, just punch carefully to punch inside the pen marks.  If your image has a center to aim for like the one in the Technique Journal below, there's no need to trace first.

Have fun doing this technique with different shapes.  It doesn't have to be just scallops & circles...try some Framelit shapes too!

Happy Stampin'

Tuesday, January 28, 2014

Banner Blast Make & Take Party

Friday night I hosted a table at the Make & Take party for the Stamp Scrap Art Tour.  I used one of my Stamp Night Projects for January which is inspired from a project Shelli did at leadership.  It was a sell out with 95 guests.
Getting used to the format was the hardest part.  I had figured my card would take about 15 minutes and when they started the projects, they announced that the groups had only 15 minutes at each of 8 tables and then the whole group would rotate around the tables together.  Beverly was my helper, and we had to hustle to keep the ink pads, stamps and punches moving around the tables.  We had it figured out around the third group of 12 ladies.  Next time I will bring a 10 minute card and duplicates of all the supplies so it will be more relaxed.
They had a wonderful display of desserts to eat at the break in the middle.  I wish I had taken a photo of that.  There was a chocolate fountain with fun fruit and cake bites to dip in the waterfall of chocolate.  Also, they had cakes, cobblers, and little fancy chocolate things (who cares what they were called...it was luscious chocolate!).  The break also gave us some time to talk to the guests.

Here's the whole card and the recipe:
Stamps:
  • Banner Blast (Sale-a-Bration - Free)
  • Four You (Annual Catalog)
 Colors:
  • Crumb Cake
  • Early Espresso
  • Strawberry Slush
  • Crisp Cantaloupe
  • Bermuda Bay
  • Whisper White
Tools / Supplies:
  • Linen Thread
  • Banner Punch (Sale-a-Bration - Free)
  • Dimensionals & Glue Dots
  • Rhinestone Basic Jewels
  • Itty Bitty Shapes Punch Pack (flower punch)
  • Merry Minis Punch Pack (star punch - carried over from Holiday Catalog)
I showed them the Easy Splatter Technique that Shelli showed us on stage at Leadership.  Here's the page in my Technique Journal for Stamp Night.
 Happy Stampin'


Sunday, December 15, 2013

Punch Art Cardinal Card Using the Bird Builder Punch

My technique for November was this cute cardinal punch art Christmas card.  I've seen these cardinals before, so I just had to try one.  Also, I've been wanting to design something for my Old Olive bow clips which are actually called Old Olive Simply Styled Embellishments...wow, that's a mouth full, isn't it!

Stamps:
  • Christmas Messages
  • Woodgrain
Colors:
  • Crumb Cake
  • Cherry Cobbler
  • Black StazOn for greeting
  • Basic Black for beak & sponging
  • Old Olive
  • Whisper White
Tools / Supplies
  •  Old Olive Simply Styled Embellishments (the bow clip)
  • Season of Style Designer Series Paper Stack
  • Bird Builder Punch
  • Dimensionals
Here's the page we did for our Technique Journal.  I actually have two journals since I have one just for Punch Art.  So, this page is in my Punch Art book.

I made a blue and white version of this card with a peace dove instead of a cardinal for a lunch time card class.  Here's that one:

When you love a layout, use it again!  It can look like a whole new card when you change the colors, greetings, and embellishments.

Happy Stampin'


Friday, September 20, 2013

Bargello Technique - Sweater Weather Paper

For September, I used the Sweater Weather designer series paper to demonstrate the Bargello Technique.  I've seen this technique for a while and wanted to do it, so here we go!  First the card...
Stamp Sets:
  • Positively Chevron (background stamp)
Colors:
  • Soft Sky
  • Chocolate Chip
  • Tangerine Tango
Supplies / Tools:
  • Autumn Accents Bigz Die
  • Ovals Collection Framelits
  • Linen Thread
  • Copy paper
  • Paper Trimmer
  • 2 Way Glue Pen or Snail
  • Dimensionals
  • Stampin' Sponge
Here is the Technique Journal page my Stamp Night regulars made for their book with the directions:
You can make your pattern and copy paper a little bigger to accommodate another strip of the paper you started with if you want to make it more "perfect" and use it for a full background (in this case another orange strip on the right or another plaid on the left).  Also, you want your contrasting, darker pieces in the middle in lieu of the edges since they add some punch to the look when you start staggering your cuts.
Make sure to use plenty of glue, tape, or Multipurpose Adhesive Sheets for maximum adhesive coverage since after you cut, there will be little bits of paper on edges.  Cut in other direction and stagger on another copy paper per journal instructions above.  Here's what the staggered strips looked like after the framelit and the punched piece came out (left behind by one of my class attendees...mine was cut up too much from punching extra samples out).
I did a wave pattern on the card.  You can also zig-zag or do a pyramid...just experiment with it to see what you like.

Happy Stampin'